Registration & Login
This page outlines how to successfully operate the application
Accessing Talawa-Admin
The login process is different depending on the type of user.
Regular Users
By default talawa-admin runs on port 4321 on your system's localhost. It is available on the following endpoint:
http://localhost:4321/
If you have specified a custom port number in your .env file, Talawa-Admin will run on the following endpoint:
http://localhost:{{customPort}}/
Replace {{customPort}} with the actual custom port number you have configured in your .env file.
Administrators
To login as an administrator, navigate to the /admin URI to enter the credentials.
User Registration
The first time you navigate to the running talawa-admin's website you'll land at talawa-admin user login page.
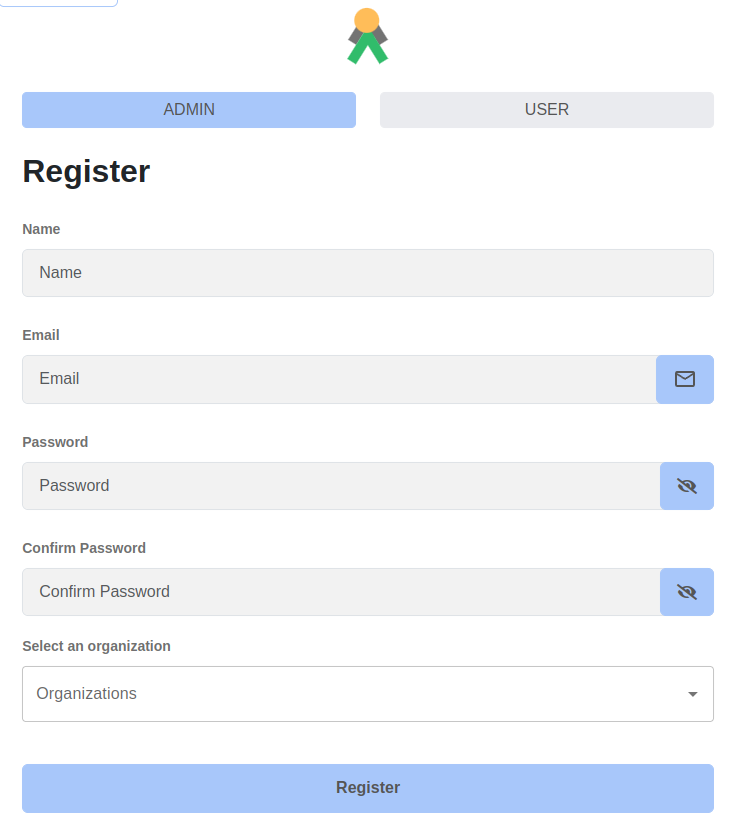
- New users can register by clicking the Register button on the login page.
- Sign up using whatever credentials you want and create the account.
- Make sure to remember the email and password you entered because they'll be used to sign you in later on.
The registration link will be clearly visible on the login page:
Note: Administrator accounts cannot be created through the registration process. Admin credentials must be provisioned separately and managed outside the application interface.
Login
The login process is different depending on the scenario
User Login
Now sign in to talawa-admin using the email and password you used to sign up.
First Time API Administrator Login
The email address and password are defined these API environment variables:
API_ADMINISTRATOR_USER_EMAIL_ADDRESSAPI_ADMINISTRATOR_USER_NAMEAPI_ADMINISTRATOR_USER_PASSWORD
In a development environment, the defaults are:
API_ADMINISTRATOR_USER_EMAIL_ADDRESS=administrator@email.comAPI_ADMINISTRATOR_USER_NAME=administratorAPI_ADMINISTRATOR_USER_PASSWORD=password
Initial Administrator Tasks
After setting up talawa-admin and talawa-api, the database will have only one user: Administrator.
To create new administrators you need to register a new user and then manually grant them Administrator privileges.
Register as an Administrator
Register a new user as described in the section above.
Granting Administrator Roles to Registered Users
-
Open GraphiQL in your browser:
-
Sign in as Administrator
- Use the following GraphQL query to get an authentication token for authorization in later queries:
- Replace
user-idwith the actual ID of the registered user andorg-idwith organization ID wherever necessary. You can obtain this form the postgres database via cloudbeaver.
mutation {signIn(input: { emailAddress: "administrator@email.com", password: "password" }) {authenticationTokenuser {idname}}} -
Make the registered user an Administrator
- Use the following GraphQL mutation to assign an administrator role to user:
mutation {updateUser(input: { id: "user-id", role: administrator }) {idname}} -
Next create an organization
- Use the following GraphQL mutation to create an organization:
mutation {createOrganization(input: {addressLine1: "Los Angeles"addressLine2: "USA"city: "Los Angeles"countryCode: indescription: "testing"name: "Test Org 7"postalCode: "876876"state: "California"}) {id}} -
Make the user an administrator of the organization
- Use the following GraphQL mutation to assign an administrator to an organization:
createOrganizationMembership(input: {memberId: "user-id"organizationId: "org-id"role: administrator}) {idnameaddressLine1createdAtmembers(first: 5) {pageInfo {hasNextPagestartCursor}edges {cursornode {idname}}}}}
Now sign successfully in with your registered ADMIN.